

How to Remove Turn Signal Bulb from Socket: A Complete DIY Guide
This post contains affiliate links. I may earn a small commission from purchases made through them, at no extra cost to you. As an Amazon Associate, I earn from qualifying purchases.
How to Remove Turn Signal Bulb from Socket
A burned-out turn signal bulb can be frustrating, especially when the bulb seems stuck inside the socket. Fortunately, removing a turn signal bulb from its socket is usually a simple DIY task that most vehicle owners can complete at home with basic tools.
The process mainly involves accessing the light assembly, identifying the correct turn signal socket, twisting or releasing the socket properly, and removing the old bulb without damaging the wiring or plastic housing.
Most turn signal sockets use a simple locking system. In many vehicles, the socket needs to be rotated about ¼ turn counter-clockwise before it can be pulled out from the light assembly. However, the exact method may vary depending on your vehicle model, so checking the owner’s manual can help avoid mistakes.
Before starting, make sure the vehicle is turned off and the lights are cool to prevent burns or electrical issues.
Tools and Preparation Before Removing the Turn Signal Bulb
Before removing the bulb, prepare everything you need. Having the correct tools makes the process easier and reduces the risk of damaging delicate components.
Most vehicles only require a few basic items:
- A replacement turn signal bulb
- Screwdriver (flathead or Phillips depending on the vehicle)
- Gloves for hand protection
- Vehicle owner’s manual
Some vehicles provide direct access to the bulb socket, while others require removing covers, clips, or panels first.
The replacement bulb type can differ between vehicles. Common examples include 3157 bulbs for some front turn signals and 7440 bulbs for certain rear applications. Always confirm the correct bulb size before installation.
Step 1: Turn Off the Vehicle and Access the Turn Signal Assembly
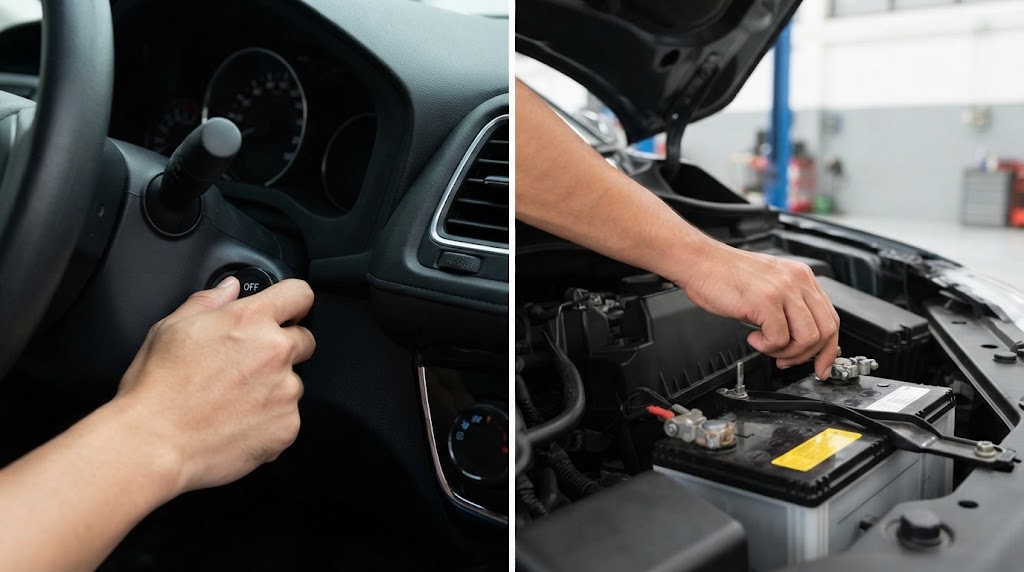
Start by parking the vehicle on a flat surface and turning off the ignition. Remove the key and allow the lighting system to cool down if it was recently used.
The location of the turn signal socket depends on whether you are replacing a front or rear bulb.
For a front turn signal, access is often available behind the headlight assembly under the hood. Some vehicles may require removing a dust cap or cover.
For a rear turn signal, the socket is usually located behind the tail light assembly. You may need to open the trunk or tailgate and remove a small access panel or carpet covering.
The goal is to reach the back side of the light housing where the bulb socket connects.
Step 2: Identify the Correct Turn Signal Socket

Behind the light assembly, you may see several different bulb sockets connected to wires. It is important to identify the correct one before removing anything.
The turn signal socket is usually connected to the section of the housing that matches the amber lens area on many vehicles. It may also be larger or differently shaped compared with other sockets.
Avoid pulling random sockets because removing the wrong bulb holder can create unnecessary problems.
Once you locate the correct socket, hold it firmly by the plastic housing instead of pulling on the wires.
Step 3: Remove the Turn Signal Bulb Socket
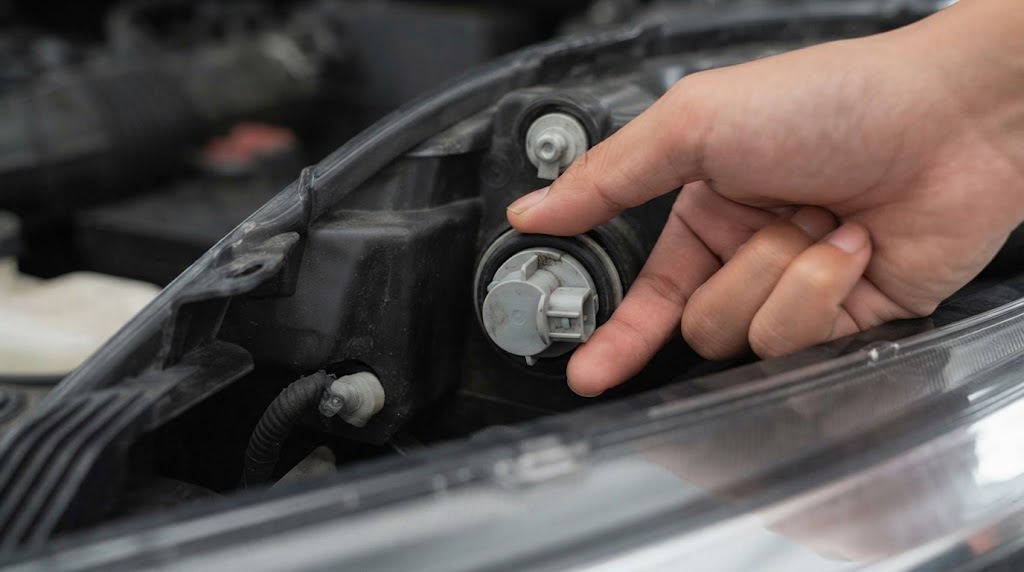
Most modern vehicles use a twist-lock socket design.
To remove it:
First, grip the plastic socket housing firmly. Then rotate the socket approximately ¼ turn counter-clockwise. After the locking tabs release, gently pull the socket straight out from the light housing.
Do not force the socket if it does not move. Plastic components can become brittle over time, especially in older vehicles. Applying too much pressure can break the socket housing or damage the guide pins.
If the socket feels stuck, check for a locking clip or release tab. Some designs require pressing a small tab before the socket can be removed.
Step 4: Remove the Old Turn Signal Bulb from the Socket
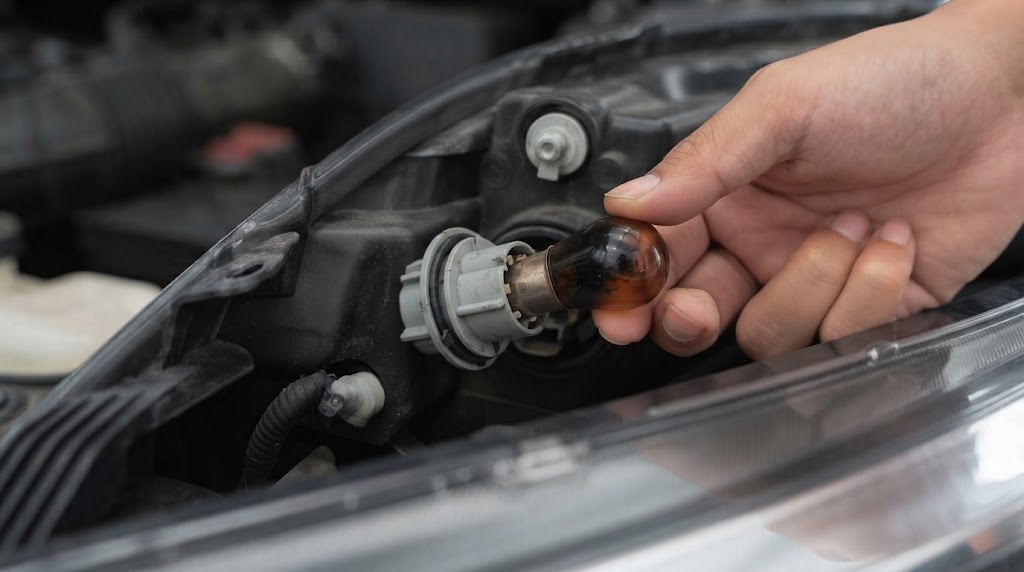
Once the socket is removed from the light assembly, you can remove the old bulb.
Hold the plastic socket firmly and pull the bulb straight out. Avoid twisting or squeezing the glass part because broken bulbs can create sharp edges.
If the bulb is difficult to remove, gently move it while pulling upward. Do not use excessive force because the internal contacts inside the socket can become damaged.
After removal, inspect the socket for:
- Burn marks
- Corrosion
- Loose electrical contacts
- Damaged plastic parts
A damaged socket may prevent the new bulb from working correctly.
Step 5: Install the New Turn Signal Bulb and Test It
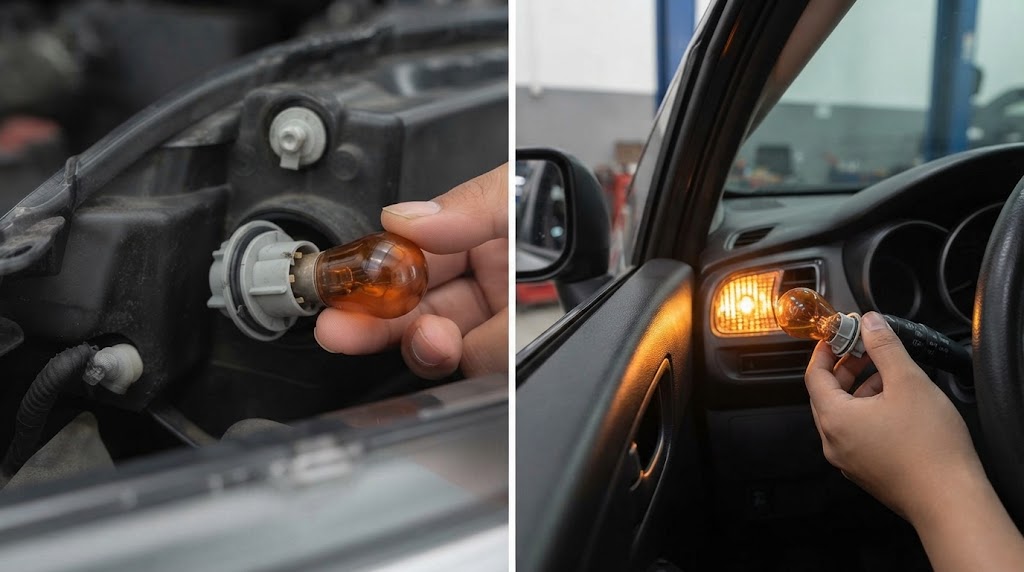
After removing the old bulb, insert the replacement bulb into the socket carefully.
Make sure the bulb fits securely before reinstalling the socket into the light assembly. A loose bulb can cause flickering, poor connection, or complete failure.
Place the socket back into the housing and rotate it clockwise until it locks into position.
After installation, turn on the vehicle and test the:
- Left turn signal
- Right turn signal
- Hazard lights
- Front and rear indicators
Testing immediately helps confirm that the bulb and electrical connection are working correctly.
Common Problems When Removing a Turn Signal Bulb Socket
Sometimes the bulb or socket does not come out easily. This usually happens because of age, corrosion, or previous incorrect installation.
The Socket Will Not Rotate
If the socket does not turn, avoid using excessive force. Check whether a locking tab needs to be pressed first. Some vehicles use a clip-style system instead of a simple twist-lock design.
The Bulb Is Stuck in the Socket
A stuck bulb may happen because of heat damage or corrosion. Wear gloves and gently move the bulb while pulling it straight out.
The Socket or Wiring Looks Damaged
If you notice melted plastic, exposed wires, or corrosion, replacing only the bulb may not solve the problem. The socket or wiring connector may also need repair.
Tips to Avoid Damaging the Turn Signal Assembly
Removing a turn signal bulb is simple, but small mistakes can create expensive repairs.
Always hold the plastic socket, not the electrical wires. Pulling on wiring can loosen the connector or break internal connections.
Avoid touching certain halogen bulbs with bare hands because oils from your skin can shorten bulb life. Use gloves or a clean cloth when handling replacement bulbs.
Never force a socket that feels locked. Check the vehicle design first because different manufacturers use different locking methods.
How Long Does It Take to Remove a Turn Signal Bulb?
For most vehicles, removing and replacing a turn signal bulb takes around 5 to 15 minutes.
The time depends on:
- Vehicle design
- Access location
- Bulb socket condition
- Required tools
Some vehicles provide quick access, while others require removing panels or covers before reaching the bulb.
Can You Remove a Turn Signal Bulb Without Tools?
Yes, many vehicles allow turn signal bulb removal without tools. If the socket is directly accessible, you may only need to twist the socket and pull out the bulb.
However, some vehicles require a screwdriver to remove clips, covers, or access panels.
(FAQs)
How do you remove a turn signal bulb from a socket?
To remove a turn signal bulb, access the light assembly, remove the socket by twisting it about ¼ turn counter-clockwise, pull it out, and then pull the bulb straight from the socket.
Why will my turn signal bulb not come out?
A turn signal bulb may be stuck because of corrosion, heat damage, or a locking mechanism. Check for release tabs and avoid forcing the socket.
Do I need to disconnect the battery before changing a turn signal bulb?
Usually, disconnecting the battery is not necessary. Turning off the vehicle and lights is normally enough. However, always follow your vehicle manufacturer’s recommendations.
How do I know which turn signal bulb I need?
Check your owner’s manual or remove the old bulb and match its number. Common examples include 3157 and 7440, but bulb sizes vary by vehicle.
What should I do if the new turn signal bulb does not work?
Check that the bulb is installed correctly, the socket is fully locked, and the electrical contacts are clean. If the problem continues, inspect the fuse, wiring, or socket condition.
Final Thoughts
Removing a turn signal bulb from its socket is a straightforward maintenance task when done carefully. The key steps are accessing the correct light assembly, identifying the right socket, rotating it properly, and removing the bulb without damaging the plastic housing or wiring.
By following the correct procedure and taking a few safety precautions, most drivers can replace a faulty turn signal bulb in just a few minutes without professional help. A properly working turn signal improves visibility and keeps your vehicle safer on the road.

Dylan
Dylan is a lighting enthusiast and experienced content creator with 7 years of expertise in blogging about home improvement, lighting solutions, and modern illumination trends. As the lead writer for BrightLightZone, Dylan focuses on simplifying complex lighting topics and helping readers discover practical, energy-efficient, and innovative lighting ideas for their homes and spaces.
With a passion for exploring the latest advancements in LED technology, smart lighting, and DIY lighting solutions, Dylan combines research, creativity, and real-world insights to create helpful guides for homeowners, DIY enthusiasts, and lighting lovers. Through BrightLightZone, Dylan aims to inspire people to transform their environments with smarter, brighter, and more sustainable lighting choices.


